While some might see stickers as mere decorations, you can transform them into powerful tools for personal expression. By starting with a brainstorming session, you’ll discover a plethora of ideas, from whimsical animals to cosmic galaxies. With the right design tools like Adobe Illustrator, you can experiment with gradients and layers to achieve the perfect look. Choosing eco-friendly materials and ensuring high-quality printing will give your stickers durability and vibrancy. Imagine the impact of applying these unique designs to everyday objects—it’s not just about aesthetics but also about making a statement.
Brainstorming Sticker Ideas
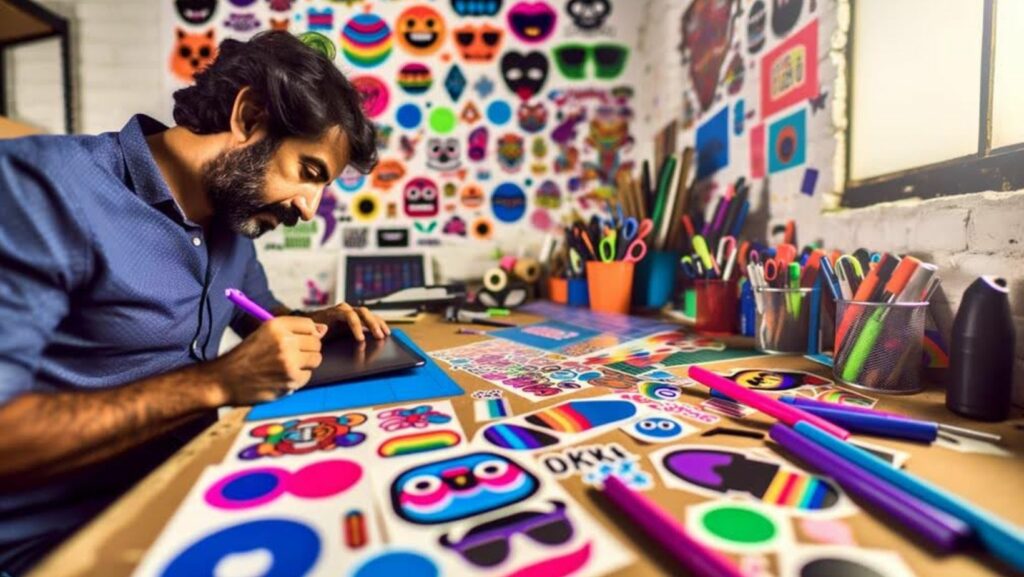
When brainstorming sticker ideas, let your imagination run wild and explore a multitude of themes, colors, and styles. Dive into the world of creative themes, where your options are limitless. Think about whimsical animals, cosmic galaxies, vintage florals, or abstract geometric shapes. Each theme can tell a story or evoke a particular mood, making your stickers not just decorative but also expressive.
Trend research is crucial to keep your designs fresh and relevant. Browse social media platforms, design blogs, and fashion magazines to identify what’s currently in vogue. Are pastel hues and minimalistic designs dominating the scene, or is there a resurgence of bold, neon colors and intricate patterns? Staying updated with trends ensures your stickers will catch eyes and resonate with your audience.
Mix and match ideas from different sources to create something uniquely yours. Don’t be afraid to experiment with unusual color palettes or unconventional motifs. The goal is to create stickers that aren’t only visually appealing but also reflect your personal style and creativity. By combining thoughtful research with your artistic vision, you can develop sticker designs that are both trend-forward and timeless.
Selecting Design Tools
To bring your sticker designs to life, choosing the right design tools is essential for capturing every detail and nuance. Start with vector software like Adobe Illustrator or CorelDRAW, which allows you to create scalable designs that won’t lose quality when resized. These tools give you precision and flexibility, letting you manipulate shapes and lines with ease. Plus, vector software is perfect for creating clean, crisp edges—ideal for standout stickers.
Next, focus on your color palettes. The right colors can make or break your design. Tools like Adobe Color or Coolors help you explore and generate harmonious color schemes. Don’t just stick to the basics; experiment with gradients and transparency to add depth and dimension to your stickers. Balance is key—too many colors can overwhelm, while too few might make your design look flat.
Also, take advantage of layers in your design tool. Layers help you organize different elements of your design, making it easier to edit and adjust individual parts without affecting the whole. This way, you can iterate on your designs efficiently, ensuring every element is just right before you move on to the next step.
Crafting Your Design
Dive into crafting your design by sketching out your ideas, letting your creativity flow onto the canvas. Start with rough drafts, capturing your initial thoughts. Don’t worry about perfection at this stage; the goal is to explore different concepts and find the core of your design.
Next, consider the principles of color theory. Colors evoke emotions and set the tone for your sticker. Choose a palette that aligns with the message you want to convey. Warm hues like reds and oranges can create a sense of energy, while cool tones like blues and greens can evoke calmness. Experiment with complementary and analogous color schemes to add depth and harmony.
Focus on design aesthetics to ensure your sticker stands out. Pay attention to balance, contrast, and composition. Is your design symmetrical or asymmetrical? Does it have a focal point that draws the eye? Use various shapes, lines, and textures to create visual interest.
Choosing Sticker Materials
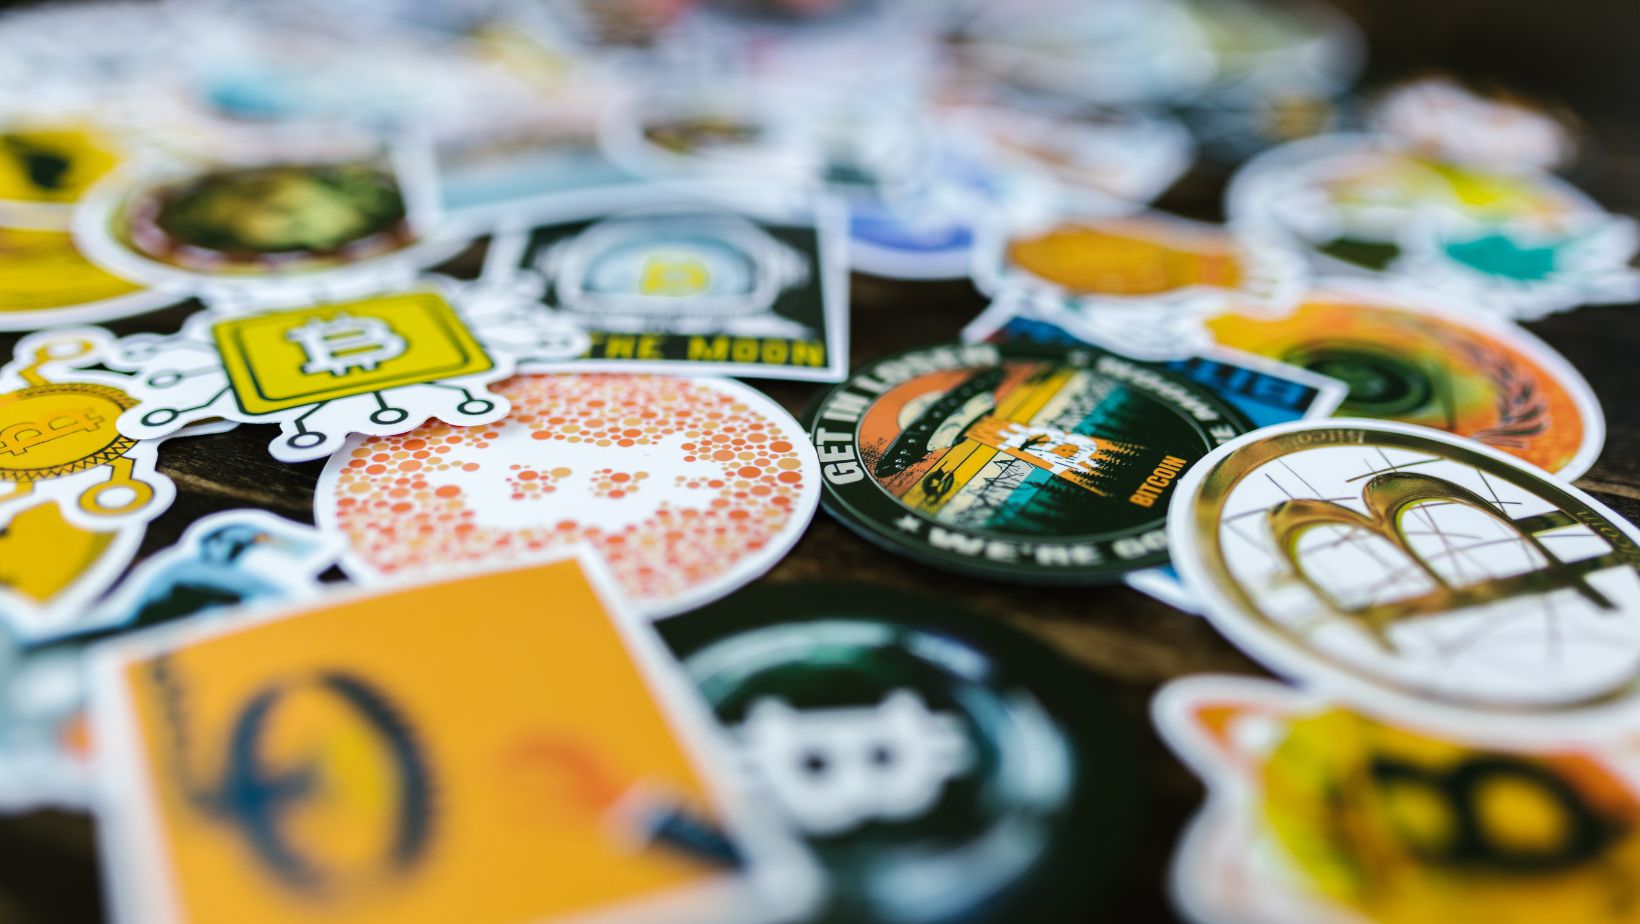
Choosing the right materials is crucial to ensure your custom stickers not only look fantastic but also stand the test of time. When selecting sticker materials, consider both durability factors and eco friendliness to create a lasting impression that aligns with your values.
Vinyl is a popular choice due to its robust nature. It’s waterproof, UV-resistant, and can withstand environmental stressors, making it ideal for outdoor use. If you’re looking for something more eco-friendly, consider biodegradable materials like recycled paper or compostable films. These options reduce environmental impact without sacrificing quality.
Think about the adhesive too. Permanent adhesives offer long-lasting stickiness, perfect for items you don’t want to peel off easily. On the other hand, removable adhesives allow for repositioning without leaving residue, ideal for temporary promotions or interior decor.
The finish also plays a role in the overall appearance and durability. A glossy finish enhances colors and provides a protective layer against scratches, while a matte finish offers a subtle, sophisticated look that’s less prone to glare.
Printing Your Stickers
Once you’ve selected the perfect materials, it’s time to bring your designs to life by printing your stickers with precision and flair. Begin by ensuring your printer is in top condition. Regular printer maintenance is essential to avoid any smudges or streaks that could ruin your carefully crafted designs. Clean the print heads, check for any paper jams, and make sure all components are functioning smoothly.
Next, let’s talk about ink selection. Using high-quality ink can make a world of difference in the vibrancy and durability of your stickers. Opt for inks that are fade-resistant and water-resistant, especially if your stickers will be exposed to the elements. Pigment-based inks are often a fantastic choice for their longevity and rich color payoff.
Before hitting the print button, do a test run on regular paper to check for any alignment issues or color discrepancies. Adjust the settings if needed, ensuring that the resolution is set high enough to capture every intricate detail of your design.
When you’re ready, load your chosen sticker paper and print your designs one sheet at a time to maintain quality.
Applying and Using Stickers
Now that your custom stickers are printed and ready, let’s explore the art of applying them with precision and flair. Start by ensuring the surface where you plan to stick your design is clean and dry. Dust and moisture can undermine a successful sticker application, so a quick wipe-down with a microfiber cloth is essential.
Next, peel the sticker carefully, avoiding any tears or wrinkles. For larger stickers, use a credit card or squeegee to smooth it out from the center towards the edges, eliminating air bubbles as you go. This technique not only ensures a flawless finish but also enhances your design’s visual impact.
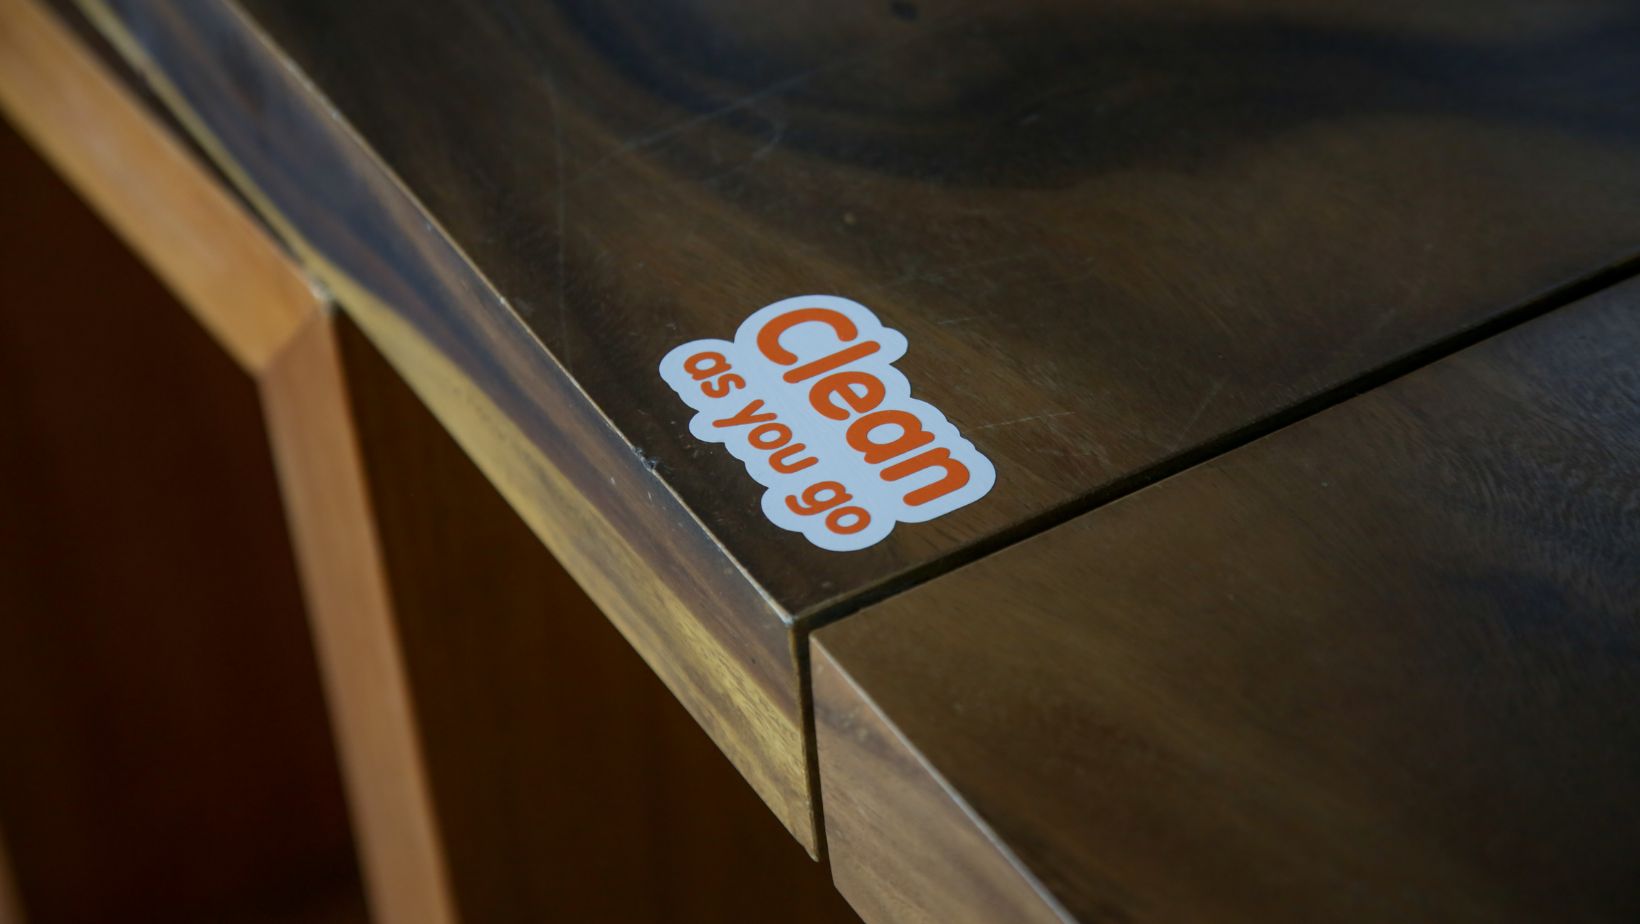
Now, let’s dive into some creative usages. Transform mundane items into personalized masterpieces—laptops, phone cases, water bottles, and notebooks are perfect canvases. Enhance your home décor by adding custom stickers to plant pots, mirrors, or even light switches. In the realm of fashion, stickers can rejuvenate old clothing or accessories, offering a unique twist.
Conclusion
In the end, creating custom stickers feels like conjuring magic from thin air.
You’ve brainstormed, designed, and chosen eco-friendly materials, ensuring each sticker is a tiny masterpiece.
As you print and apply them, you’ll see how they transform everyday objects into personalized art.
So, whether it’s a laptop or a vintage gramophone, your unique stickers will always add a splash of individuality and a dash of personality to everything they touch.
Happy sticking!